
Pocket ID
Pocket ID is a minimalist, self-hosted OIDC (OpenID Connect) provider built entirely around passkeys: instead of managing passwords, you and your users log in to compatible apps with a passkey (fingerprint, face unlock, or a hardware security key). It runs as a single lightweight container with no external database to manage, and it does exactly one thing well: issuing OIDC logins.
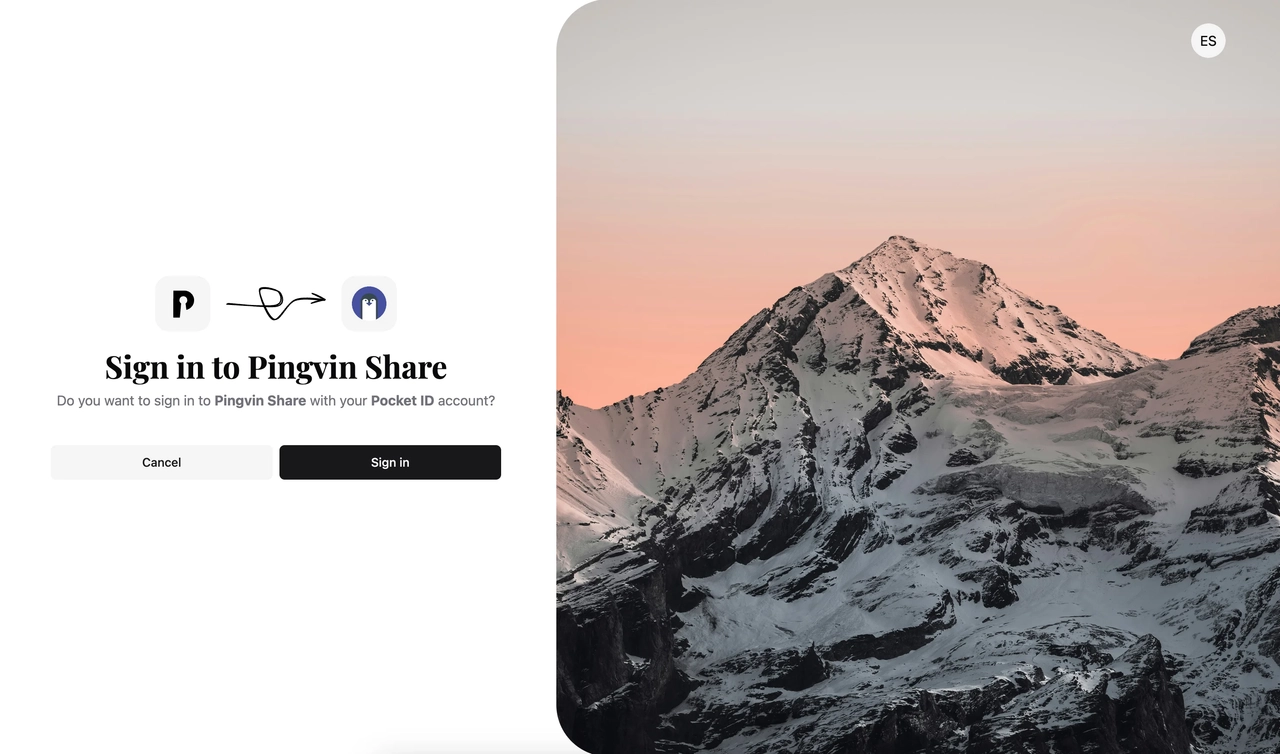
This makes it a good fit if you just need a simple, fast SSO backend, for example to pair with TinyAuth as a lightweight forward-auth setup, or to log in directly to apps that natively support OIDC.
Installation
- /
- srv
- docker
- pocket-id
- compose.yaml
- .env
- data
- pocket-id
- docker
- srv
Create the data folder
sudo mkdir -p /srv/docker/pocket-id/data
Generate an encryption key
openssl rand -base64 32
Keep the output, you'll need it for the .env file below.
Deploy the stack
Open Dockge, click compose, name the stack pocket-id, and add the following config:
---
services:
  pocket-id:
    image: pocketid/pocket-id:v2
    container_name: pocket-id
    restart: unless-stopped
    env_file:
      - .env
    volumes:
      - /srv/docker/pocket-id/data:/app/data
    ports:
      - 1411:1411
    healthcheck:
      test: ["CMD", "/app/pocket-id", "healthcheck"]
      interval: 90s
      timeout: 5s
      retries: 3
---
services:
  pocket-id:
    #...
    labels:
      - com.centurylinklabs.watchtower.enable=true
Set your environment variables
Fill in the .env file:
APP_URL=https://id.mydomain.com
ENCRYPTION_KEY=
TRUST_PROXY=true
| Variable | Value | Example |
|---|---|---|
APP_URL | The public URL you'll use to reach Pocket ID (see exposure below) | https://id.mydomain.com |
ENCRYPTION_KEY | The key generated above | Q2pVEqsTNRkJSO9SkJzU3KZ2... |
TRUST_PROXY | Required since Pocket ID sits behind SWAG | true |
Deploy the stack. The local interface is available at http://yourserverip:1411.
Done!
First login
Pocket ID doesn't use passwords: your first account is created with a passkey, which your browser or OS will generate for you (Windows Hello, Touch ID, a phone, or a hardware key like a YubiKey).
- Go to
http://yourserverip:1411/setup - Follow the prompts to create your admin account and register your first passkey
localhost. Registering one from http://yourserverip:1411 on another machine will be refused by the browser, since that's plain HTTP to a non-localhost address. If setup doesn't complete locally, expose Pocket ID first (see below) and finish setup over HTTPS instead.Exposing Pocket ID with SWAG
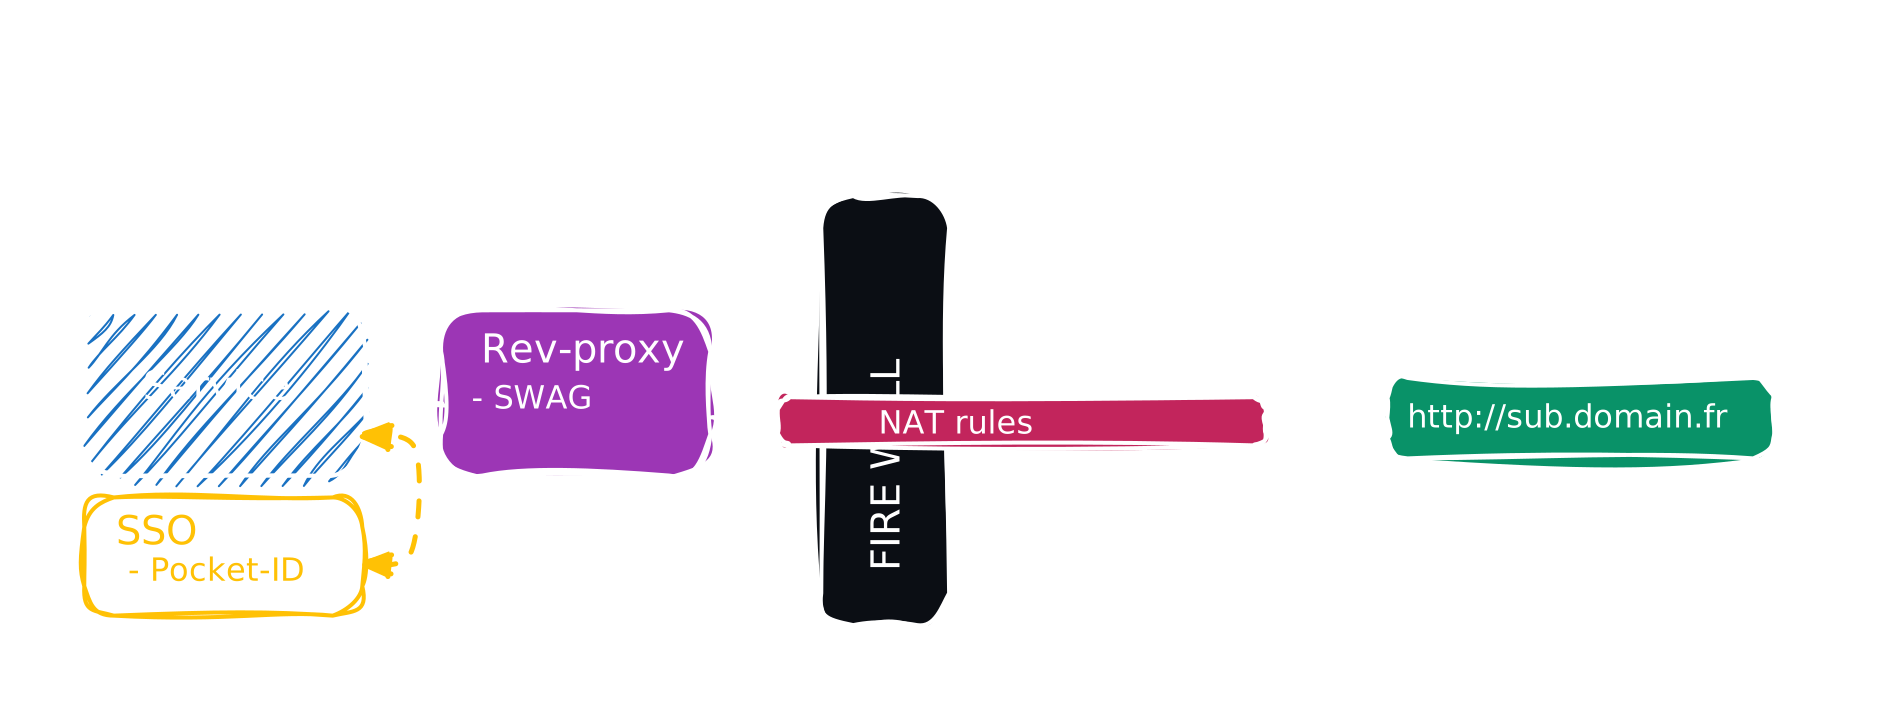
Other apps need to reach Pocket ID over HTTPS to complete the OIDC login flow, so it must be exposed even if you only use it from home.
id.mydomain.com with a CNAME pointing to mydomain.com in your DNS zone. And of course, unless you use Cloudflare Zero Trust, your box's port 443 must be forwarded to your server's port 443 in NAT rules.Add Pocket ID's network to SWAG
Go to Dockge and edit SWAG's compose file by adding Pocket ID's network:
---
services:
  swag:
    container_name: # ...
      # ...
    networks:                # Attach container to custom network
      # ...
      - pocket-id             # Name of the declared network

networks:                     # Define the custom network
  # ...
  pocket-id:                  # Declared network name
    name: pocket-id_default   # Actual external network name
    external: true            # Marks it as externally defined
Redeploy the stack and wait for SWAG to be fully operational.
pocket-id_default. You can check the connection by visiting SWAG's dashboard at http://yourserverip:81.Create the subdomain.conf file
In the SWAG folders, create the file id.subdomain.conf:
sudo nano /srv/docker/swag/config/nginx/proxy-confs/id.subdomain.conf
Paste the following configuration:
## Version 2023/12/19

server {
    listen 443 ssl;
    listen [::]:443 ssl;

    server_name id.*;

    include /config/nginx/ssl.conf;

    client_max_body_size 0;

    location / {
        include /config/nginx/proxy.conf;
        include /config/nginx/resolver.conf;
        set $upstream_app pocket-id;
        set $upstream_port 1411;
        set $upstream_proto http;
        proxy_pass $upstream_proto://$upstream_app:$upstream_port;
    }
}
Press Ctrl+O, then Enter to save, and Ctrl+X to exit.
Visit your new subdomain
Wait a few minutes, then open https://id.mydomain.com in your browser.
Done!
Registering an OIDC client
To let another app (e.g. TinyAuth) log in through Pocket ID, you need to register it as an OIDC client:
Log in to Pocket ID
Go to https://id.mydomain.com and log in with your passkey.
Create the OIDC client
Go to Administration > OIDC Clients, then click Add OIDC Client. Fill in a name (e.g. TinyAuth) and the app's callback URL (provided by the app you're protecting).
Save your client credentials
Save, then copy the generated Client ID and Client Secret. You'll need them in the other app's configuration.
Done!
Connecting Pocket ID to TinyAuth
TinyAuth can delegate its login to Pocket ID instead of (or alongside) its local username/password, so anyone visiting a protected app authenticates with a passkey and gets forwarded through.
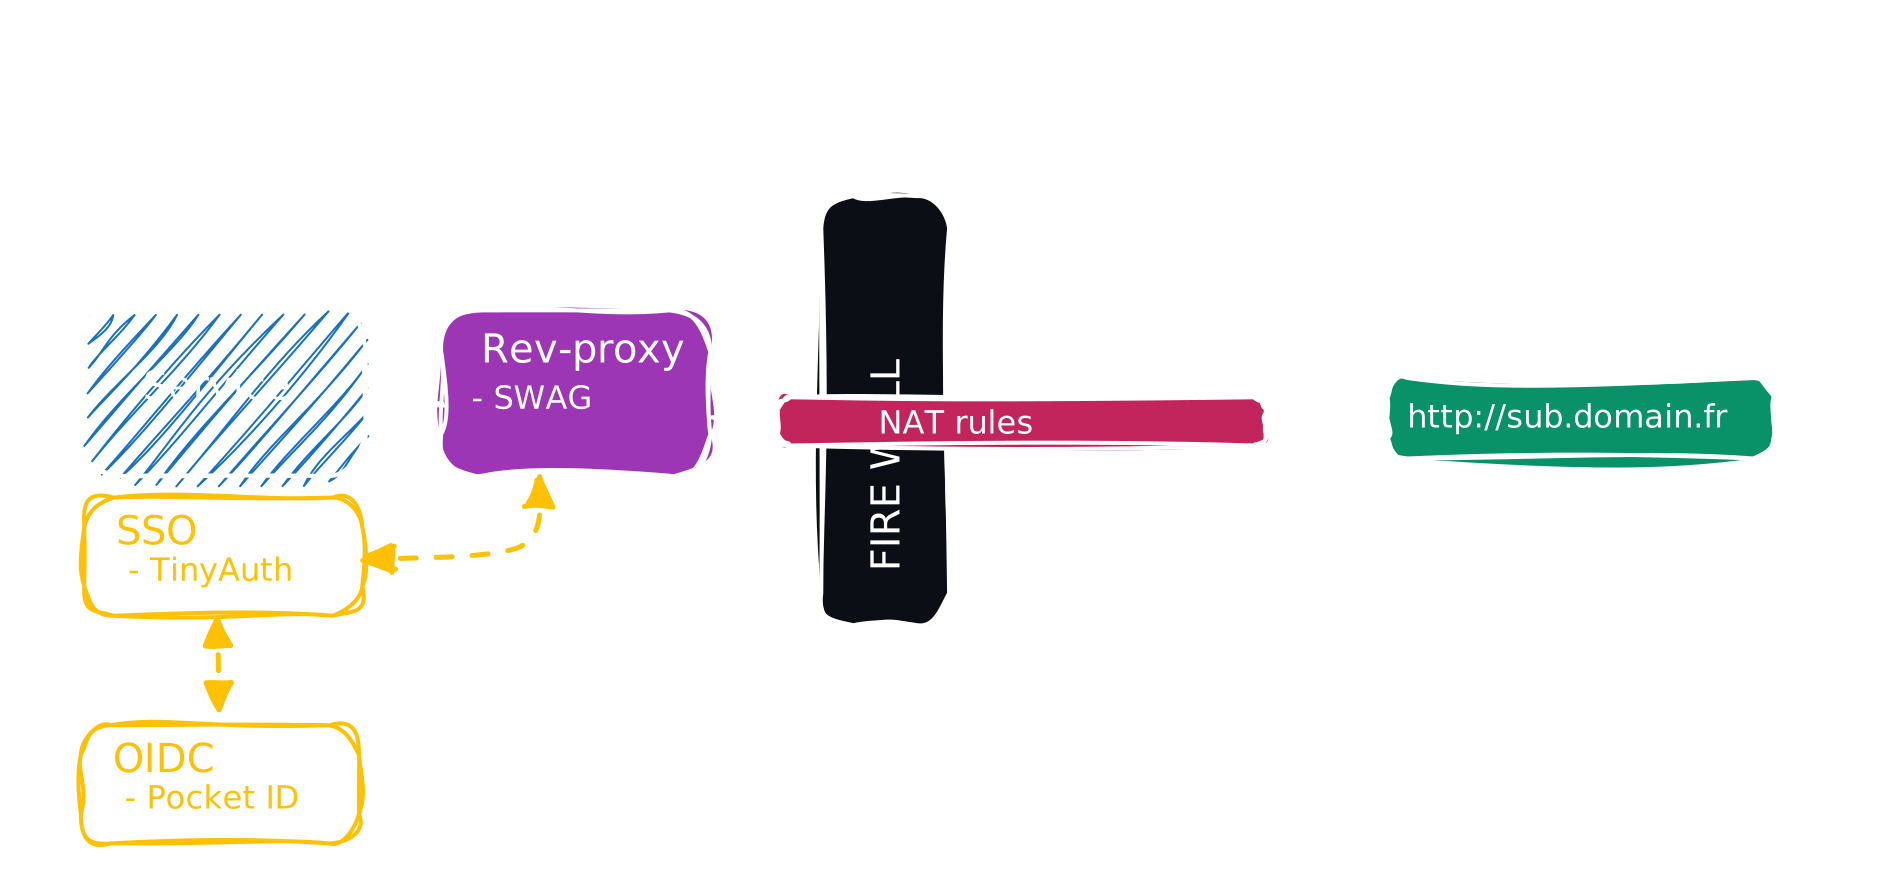
Register TinyAuth as an OIDC client
Register an OIDC client named TinyAuth, using this callback URL:
https://tinyauth.mydomain.com/api/oauth/callback/pocketid
Add the Pocket ID provider in TinyAuth
Copy the Client ID and Client Secret Pocket ID gives you, then edit TinyAuth's .env file:
sudo nano /srv/docker/tinyauth/.env
Add the following:
TINYAUTH_OAUTH_PROVIDERS_POCKETID_NAME=Pocket ID
TINYAUTH_OAUTH_PROVIDERS_POCKETID_CLIENTID=
TINYAUTH_OAUTH_PROVIDERS_POCKETID_CLIENTSECRET=
TINYAUTH_OAUTH_PROVIDERS_POCKETID_AUTHURL=https://id.mydomain.com/authorize
TINYAUTH_OAUTH_PROVIDERS_POCKETID_TOKENURL=https://id.mydomain.com/api/oidc/token
TINYAUTH_OAUTH_PROVIDERS_POCKETID_USERINFOURL=https://id.mydomain.com/api/oidc/userinfo
TINYAUTH_OAUTH_PROVIDERS_POCKETID_REDIRECTURL=https://tinyauth.mydomain.com/api/oauth/callback/pocketid
TINYAUTH_OAUTH_PROVIDERS_POCKETID_SCOPES=openid email profile
| Variable | Value |
|---|---|
CLIENTID | The client ID copied from Pocket ID |
CLIENTSECRET | The client secret copied from Pocket ID |
AUTHURL / TOKENURL / USERINFOURL | Pocket ID's public URL, with the paths shown above |
Press Ctrl+O, then Enter to save, and Ctrl+X to exit.
Redeploy the stack
Redeploy the TinyAuth stack. On your next visit to https://tinyauth.mydomain.com, you'll see a "Login with Pocket ID" option alongside the local login form.
TINYAUTH_OAUTH_AUTOREDIRECT=pocketid to the same .env file.Done!
That's it! TinyAuth now offers passwordless login via Pocket ID for every app it protects.
TinyAuth
Install TinyAuth, a lightweight forward-auth proxy, and pair it with Pocket ID to add SSO login in front of your self-hosted apps. Protect your app behind SWAG with forward-auth.
Uptime-Kuma
Install Uptime-Kuma to monitor your self-hosted services uptime, set up alerts, and optionally protect the dashboard with Tinyauth or Authentik