
Vaultwarden
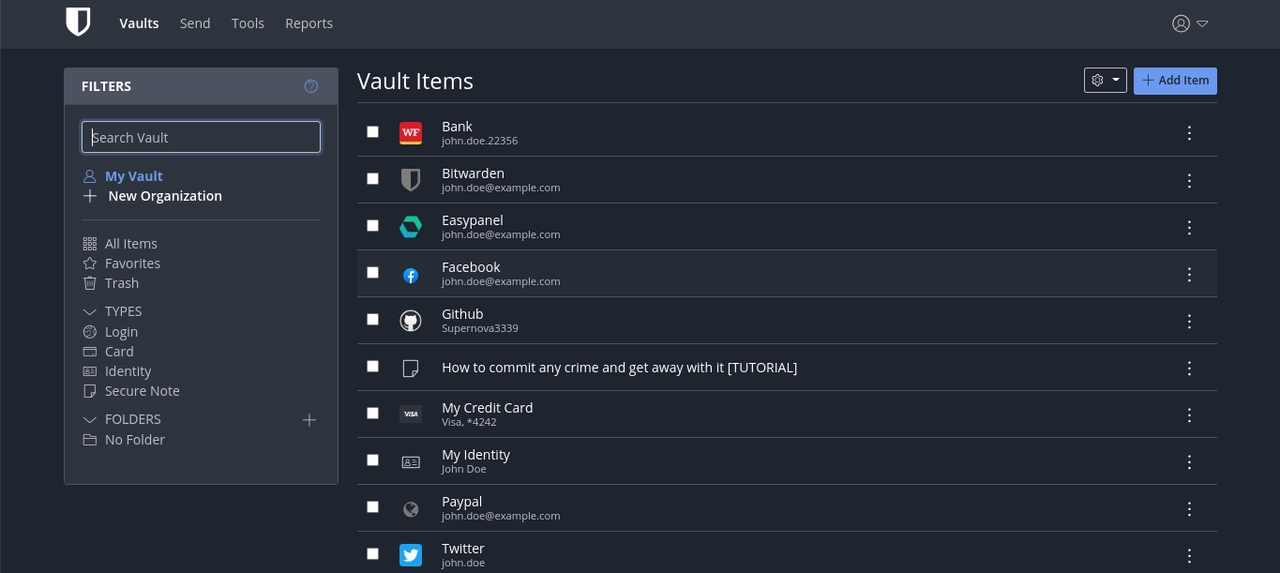
Vaultwarden is a password management solution (generation, autofill...) that you can host directly on your server. This replaces managers like Google, Apple, or Keepass. Vaultwarden synchronizes your passwords across all your devices with end-to-end encryption.
Vaultwarden is a fork of Bitwarden.
Installation
- /
- srv
- docker
- vaultwarden
- data
- compose.yaml
- .env
- vaultwarden
- docker
- srv
Deploy the stack
Open Dockge, click on compose, name the stack vaultwarden, and paste the following:
---
services:
  vaultwarden:
    container_name: vaultwarden
    image: vaultwarden/server:latest
    restart: unless-stopped
    env_file:
      - .env
    volumes:
      - ./data/:/data/
    ports:
      - 3050:80
    environment:
      - DOMAIN=${URL}
      - LOGIN_RATELIMIT_MAX_BURST=10
      - LOGIN_RATELIMIT_SECONDS=60
      - ADMIN_RATELIMIT_MAX_BURST=10
      - ADMIN_RATELIMIT_SECONDS=60
      - ADMIN_TOKEN=${TOKEN}
      - SENDS_ALLOWED=true
      - EMERGENCY_ACCESS_ALLOWED=true
      - WEB_VAULT_ENABLED=true
      - SIGNUPS_ALLOWED=false
      - SIGNUPS_VERIFY=true
      - SIGNUPS_VERIFY_RESEND_TIME=3600
      - SIGNUPS_VERIFY_RESEND_LIMIT=5
---
services:
  vaultwarden:
    #...
    labels:
      - com.centurylinklabs.watchtower.enable=true
Set your environment variables
Next, generate a password hash to put in the TOKEN variable in .env:
echo -n 'yourpassword' | argon2 "$(openssl rand -base64 32)" -e -id -k 65540 -t 3 -p 4
Copy the result securely.
In the .env file, enter the following variables:
URL=
TOKEN=
| Variable | Value | Example |
|---|---|---|
URL | The URL of your Vaultwarden server | https://vault.yourdomain.com |
TOKEN | The token you previously copied | '$argon2id$v=19$m=65540,t=3,p=4$bXBGME... |
Then deploy the container.
Recently, Vaultwarden requires SSL to be accessed, which prevents access via a local IP. We'll expose it with SWAG, which provides an SSL certificate.
Done!
Exposing Vaultwarden with SWAG
The main benefit of Vaultwarden is being able to access it remotely from any device. We'll expose it through SWAG.
vault.yourdomain.com with CNAME pointing to yourdomain.com and (unless using Cloudflare Zero Trust) that you've forwarded port 443 from your router to your server's 443 via NAT rules.Add Vaultwarden's network to SWAG
In Dockge, go to the SWAG stack and edit the compose file to add the Vaultwarden network:
---
services:
  swag:
    container_name: # ...
     # ...
    networks:             # Connects container to custom network
      # ...
      - vaultwarden        # Name of the declared network

networks:                  # Defines the custom network
  # ...
  vaultwarden:             # Name of the declared network
    name: vaultwarden_default  # Actual name of the external network
    external: true
vaultwarden_default. You can check connectivity by visiting the SWAG dashboard at http://yourserverip:81.Restart the stack by clicking "Deploy" and wait for SWAG to be fully operational.
Create the subdomain.conf file
In SWAG's config folder, create the file vault.subdomain.conf:
sudo nano /srv/docker/swag/config/nginx/proxy-confs/vault.subdomain.conf
And paste the following configuration:
server {
    listen 443 ssl;
    listen [::]:443 ssl;

    server_name vault.*;

    include /config/nginx/ssl.conf;

    client_max_body_size 128M;

    # enable for ldap auth (requires ldap-location.conf in the location block)
    #include /config/nginx/ldap-server.conf;

    # enable for Authelia (requires authelia-location.conf in the location block)
    #include /config/nginx/authelia-server.conf;

    # enable for Authentik (requires authentik-location.conf in the location block)
    #include /config/nginx/authentik-server.conf;

    location / {
        # enable the next two lines for http auth
        #auth_basic "Restricted";
        #auth_basic_user_file /config/nginx/.htpasswd;

        # enable for ldap auth
        #include /config/nginx/ldap-location.conf;

        # enable for Authelia
        #include /config/nginx/authelia-location.conf;

        # enable for Authentik
        #include /config/nginx/authentik-location.conf;

        include /config/nginx/proxy.conf;
        include /config/nginx/resolver.conf;
        set $upstream_app vaultwarden;
        set $upstream_port 80;
        set $upstream_proto http;
        proxy_pass $upstream_proto://$upstream_app:$upstream_port;
    }

    location ~ ^(/vaultwarden)?/admin {
        # enable the next two lines for http auth
        #auth_basic "Restricted";
        #auth_basic_user_file /config/nginx/.htpasswd;

        # enable for ldap auth
        #include /config/nginx/ldap-location.conf;

        # enable for Authelia
        #include /config/nginx/authelia-location.conf;

        # enable for Authentik
        #include /config/nginx/authentik-location.conf;

        include /config/nginx/proxy.conf;
        include /config/nginx/resolver.conf;
        set $upstream_app vaultwarden;
        set $upstream_port 80;
        set $upstream_proto http;
        proxy_pass $upstream_proto://$upstream_app:$upstream_port;
    }

    location ~ (/vaultwarden)?/api {
        include /config/nginx/proxy.conf;
        include /config/nginx/resolver.conf;
        set $upstream_app vaultwarden;
        set $upstream_port 80;
        set $upstream_proto http;
        proxy_pass $upstream_proto://$upstream_app:$upstream_port;
    }

    location ~ (/vaultwarden)?/notifications/hub {
        include /config/nginx/proxy.conf;
        include /config/nginx/resolver.conf;
        set $upstream_app vaultwarden;
        set $upstream_port 80;
        set $upstream_proto http;
        proxy_pass $upstream_proto://$upstream_app:$upstream_port;
    }
}
Press Ctrl+O, then Enter to save, and Ctrl+X to exit.
Done!
And there you go! Vaultwarden is now exposed! Visit https://vault.yourdomain.com/admin to access the admin panel and paste the password you specified when generating the ADMIN_TOKEN. For more information, see the Bitwarden documentation.
Don't forget to install Bitwarden browser extensions (they work with Vaultwarden) for Chrome and Firefox, as well as iOS and Android apps to sync your passwords.
Protecting Vaultwarden with Pocket ID
Unlike most apps on this site, Vaultwarden supports OIDC natively, so there's no need for TinyAuth's forward-auth proxy or Authentik's reverse-proxy trick here: Vaultwarden itself can require an OIDC login before letting anyone into the vault.
Register Vaultwarden as an OIDC client
Register an OIDC client in Pocket ID (or in Authentik, or any other OIDC provider) using this callback URL:
https://vault.yourdomain.com/identity/connect/oidc-signin
Add the SSO variables
Edit Vaultwarden's .env file:
sudo nano /srv/docker/vaultwarden/.env
Add the following:
SSO_ENABLED=true
SSO_ONLY=true
SSO_AUTHORITY=https://id.yourdomain.com
SSO_CLIENT_ID=
SSO_CLIENT_SECRET=
| Variable | Value |
|---|---|
SSO_AUTHORITY | Your OIDC provider's public URL (Pocket ID here) |
SSO_CLIENT_ID | The client ID copied from your provider |
SSO_CLIENT_SECRET | The client secret copied from your provider |
SSO_ONLY=false instead if you'd rather keep the option to log in with a local master password too.Press Ctrl+O, then Enter to save, and Ctrl+X to exit.
Redeploy the stack
Redeploy Vaultwarden. Your next visit to https://vault.yourdomain.com will prompt for SSO login instead of (or alongside) the local master password.
Done!
Create a scope mapping for the email claim
In Authentik, create a scope mapping named email with the expression return {"email": request.user.email, "email_verified": True} (Vaultwarden requires this claim).
Create the application and provider
Create an application and an OAuth2/OpenID Connect provider named Vaultwarden, with a redirect URI (type Strict) of https://vault.yourdomain.com/identity/connect/oidc-signin. Under Advanced protocol settings, set the access token validity to more than 5 minutes, replace the default email scope with your custom mapping, and add the offline_access scope mapping.
Set Vaultwarden's environment variables
Note the provider's Client ID, Client Secret, and Slug, then use them in Vaultwarden's .env:
SSO_AUTHORITY=https://authentik.yourdomain.com/application/o/<slug>/
SSO_CLIENT_ID=
SSO_CLIENT_SECRET=
SSO_SCOPES=email profile offline_access