UpSnap
- Install UpSnap
- Expose UpSnap with Swag
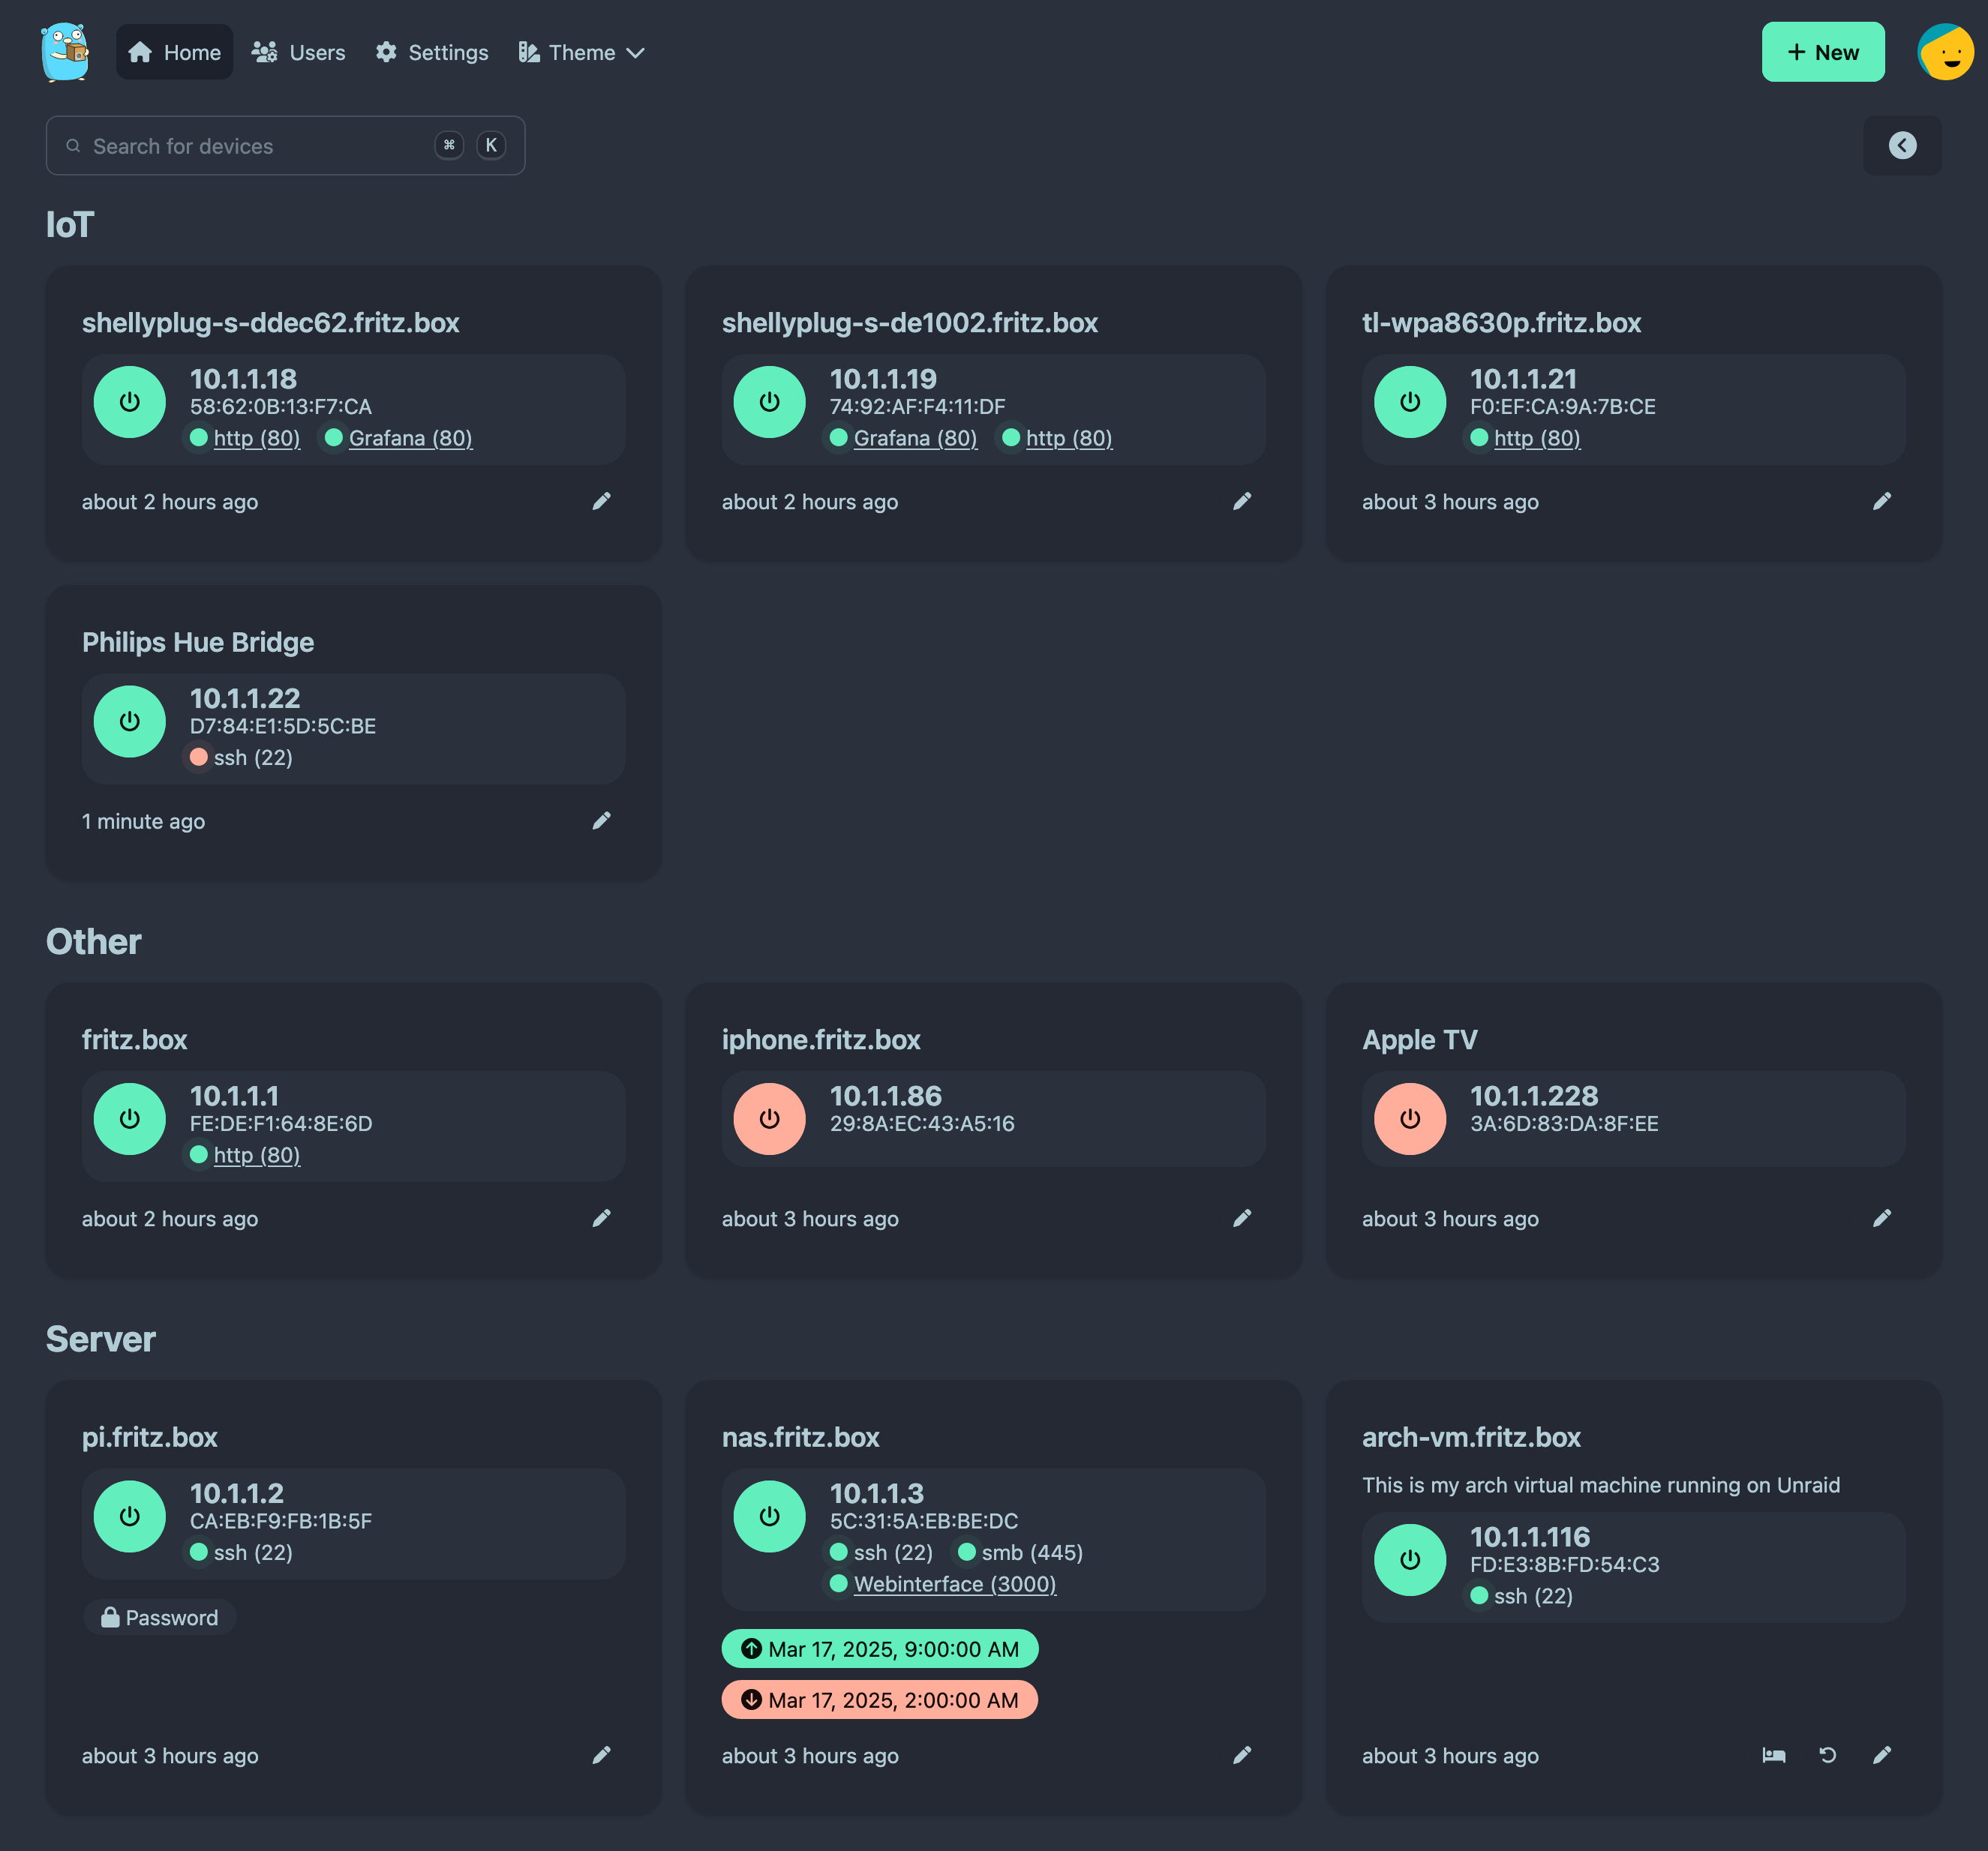
UpSnap is a container that allows you to remotely power on, shut down, or put your machines to sleep. It mainly uses Wake-On-Lan (WoL) over the network and offers advanced features.
Installation
Folder structure
root
└── docker
    └── upsnap
        └── data
Open Dockge, click on compose, name the stack upsnap, then copy and paste the following:
---
services:
  upsnap:
    container_name: upsnap
    image: ghcr.io/seriousm4x/upsnap:5
    network_mode: host
    restart: unless-stopped
    volumes:
      - /docker/upsnap/data:/app/pb_data
    environment:
      - TZ=Europe/Paris
      - UPSNAP_SCAN_RANGE=${SCAN_RANGE}
      - UPSNAP_SCAN_TIMEOUT=500ms
      - UPSNAP_PING_PRIVILEGED=true
    dns:
      - ${DNS}
    entrypoint: /bin/sh -c "./upsnap serve --http 0.0.0.0:8095"
    healthcheck:
      test: curl -fs "http://localhost:8095/api/health" || exit 1
      interval: 10s
services:
  upsnap:
    #...
    labels:
      - com.centurylinklabs.watchtower.enable=true
Fill in the .env, for example:
RANGE=192.168.1.0/24 # scans all devices on the local network with an IP between 192.168.0.1 and 192.168.1.255
DNS=192.168.1.1 # DNS IP to resolve domain names, typically your router’s IP
Deploy the container and go to http://yourserverip:8095. Just follow the steps to create your account!
- If it fails: check your firewall rules.
Exposing UpSnap with Swag
You may want to access it remotely from all your devices. To do so, we'll expose UpSnap via Swag.
Go to Dockge, and edit the SWAG compose by adding the UpSnap network:
services:
  swag:
     container_name: # ...
      # ...
     networks:                       # Connects the container to the custom network
      # ...
      - upsnap                       # Network name declared in the stack

networks:                            # Defines the custom network
  # ...
  upsnap:                 # Network name declared in the stack
    name: upsnap_default             # Actual name of the external network
    external: true                   # Indicates it's an external network
Restart the stack by clicking "deploy" and wait for SWAG to be fully operational.
- Here we assume the network name for upsnap is
upsnap_default. You can check the connection in the SWAG dashboard athttp://yourserverip:81.
In the Swag folders, create the file upsnap.subdomain.conf.
sudo vi /docker/swag/config/nginx/proxy-confs/upsnap.subdomain.conf
Enter edit mode by pressing i, and paste the following configuration:
## Version 2023/12/19

server {
    listen 443 ssl;
    listen [::]:443 ssl;

    server_name upsnap.*;

    include /config/nginx/ssl.conf;

    client_max_body_size 0;

    #if ($lan-ip = yes) { set $geo-whitelist yes; }
    #if ($geo-whitelist = no) { return 404; }
    if ($geo-blacklist = no) { return 404; }

    # enable for ldap auth (requires ldap-location.conf in the location block)
    #include /config/nginx/ldap-server.conf;

    # enable for Authelia (requires authelia-location.conf in the location block)
    #include /config/nginx/authelia-server.conf;

    # enable for Authentik (requires authentik-location.conf in the location block)
    #include /config/nginx/authentik-server.conf;

    location / {
        # enable the next two lines for http auth
        #auth_basic "Restricted";
        #auth_basic_user_file /config/nginx/.htpasswd;

        # enable for ldap auth (requires ldap-server.conf in the server block)
        #include /config/nginx/ldap-location.conf;

        # enable for Authelia (requires authelia-server.conf in the server block)
        #include /config/nginx/authelia-location.conf;

        # enable for Authentik (requires authentik-server.conf in the server block)
        #include /config/nginx/authentik-location.conf;

        include /config/nginx/proxy.conf;
        include /config/nginx/resolver.conf;
        set $upstream_app upsnap;
        set $upstream_port 8095;
        set $upstream_proto http;
        proxy_pass $upstream_proto://$upstream_app:$upstream_port;

    }
}
Press Escape, then save and exit by typing :x and pressing Enter.
And that’s it — you’ve exposed UpSnap!
upsnap.subdomain.conf and removing the # in front of include /config/nginx/authentik-server.conf; and include /config/nginx/authentik-location.conf;. Don’t forget to create an application and provider in Authentik.