File Browser
- Install File Browser
- Expose File Browser using Swag
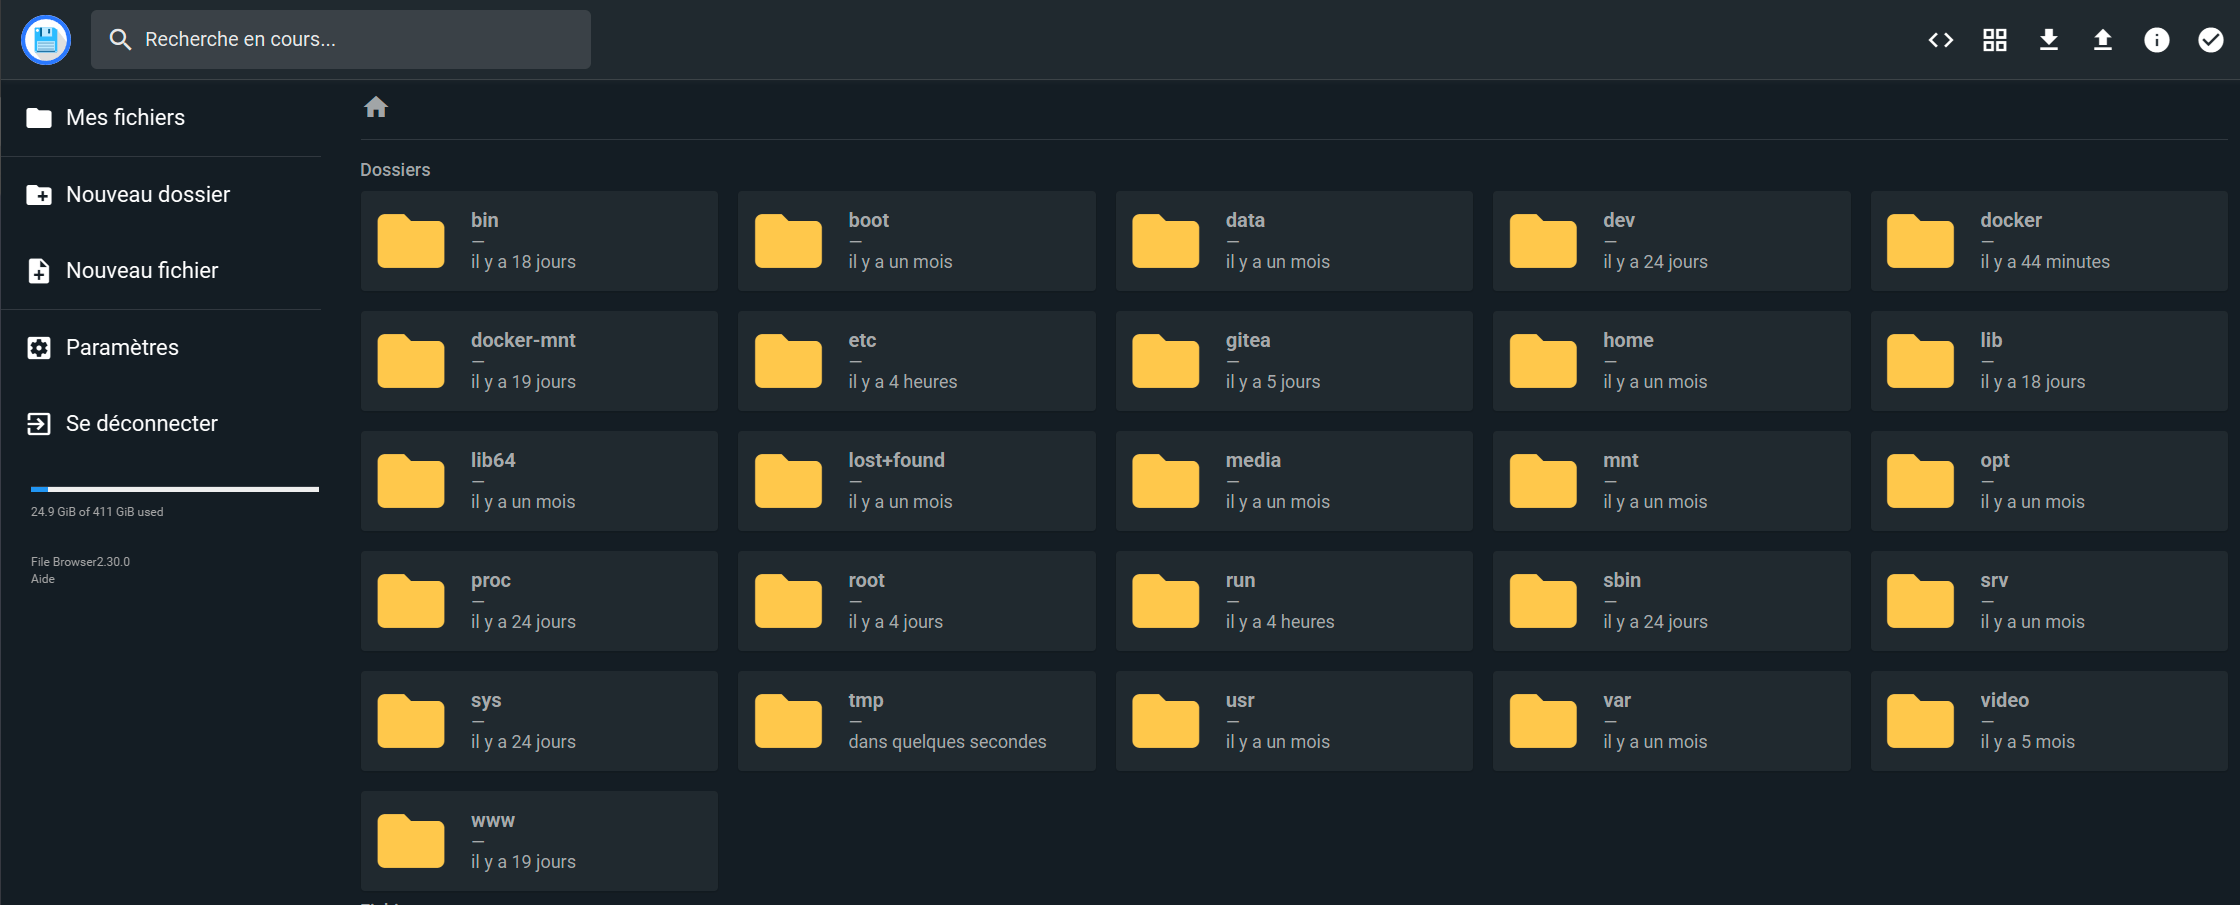
File Browser is a web-based interface that lets you access and edit the files on your server.
Installation
Open Dockge, click on compose, name the stack filebrowser, then copy and paste the following:
---
services:
  filebrowser:
    container_name: filebrowser
    volumes:
      - /docker/filebrowser/config:/config/
      - /path/to/your/folders:/yourfolders #add your folders to browse as /docker:/docker for exemple
    ports:
      - 8010:80
    image: filebrowser/filebrowser:s6
services:
  filebrowser:
    #...
    labels:
      - com.centurylinklabs.watchtower.enable=true
Deploy the container and go to http://yourserverip:8010. That’s it—your File Browser web UI is up and running!
- If it doesn’t work: check your firewall rules.
Exposing File Browser with Swag
You may want to access File Browser remotely from all your devices. To do that, we’ll expose it through Swag.
In Dockge, go to the SWAG stack and edit the compose file to add File Browser’s network:
services:
  swag:
     container_name: # ...
      # ...
     networks:                 # Connects the container to the custom network
      # ...
      - filebrowser            # Name of the network declared in the stack

networks:                      # Defines the custom network
  # ...
  filebrowser:                 # Name of the network declared in the stack
    name: filebrowser_default  # Actual name of the external network
    external: true             # Specifies it's an external network
- Here, we assume the network name for File Browser is
filebrowser_default. You can confirm the connection is working by accessing the SWAG dashboard at http://yourserverip:81.
Restart the stack by clicking "deploy" and wait for SWAG to fully initialize.
In the Swag folders, create the file files.subdomain.conf.
sudo vi /docker/swag/config/nginx/proxy-confs/files.subdomain.conf
Enter insert mode by pressing i, and paste the following configuration:
## Version 2023/12/19

server {
    listen 443 ssl;
    listen [::]:443 ssl;

    server_name files.*;

    include /config/nginx/ssl.conf;

    client_max_body_size 0;

    #if ($lan-ip = yes) { set $geo-whitelist yes; }
    #if ($geo-whitelist = no) { return 404; }
    if ($geo-blacklist = no) { return 404; }

    # enable for ldap auth (requires ldap-location.conf in the location block)
    #include /config/nginx/ldap-server.conf;

    # enable for Authelia (requires authelia-location.conf in the location block)
    #include /config/nginx/authelia-server.conf;

    # enable for Authentik (requires authentik-location.conf in the location block)
    #include /config/nginx/authentik-server.conf;

    location / {
        # enable the next two lines for http auth
        #auth_basic "Restricted";
        #auth_basic_user_file /config/nginx/.htpasswd;

        # enable for ldap auth (requires ldap-server.conf in the server block)
        #include /config/nginx/ldap-location.conf;

        # enable for Authelia (requires authelia-server.conf in the server block)
        #include /config/nginx/authelia-location.conf;

        # enable for Authentik (requires authentik-server.conf in the server block)
        #include /config/nginx/authentik-location.conf;

        include /config/nginx/proxy.conf;
        include /config/nginx/resolver.conf;
        set $upstream_app filebrowser;
        set $upstream_port 80;
        set $upstream_proto http;
        proxy_pass $upstream_proto://$upstream_app:$upstream_port;
    }
}
Press Esc, then save and exit with :x followed by Enter.
That’s it—File Browser is now exposed!
files.subdomain.conf and uncommenting include /config/nginx/authentik-server.conf; and include /config/nginx/authentik-location.conf;. Don’t forget to create an application and provider in Authentik.